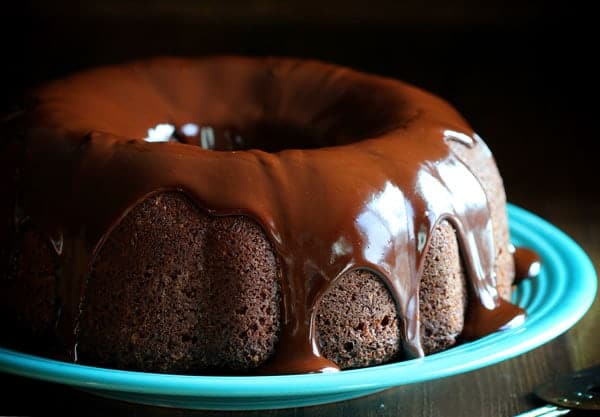
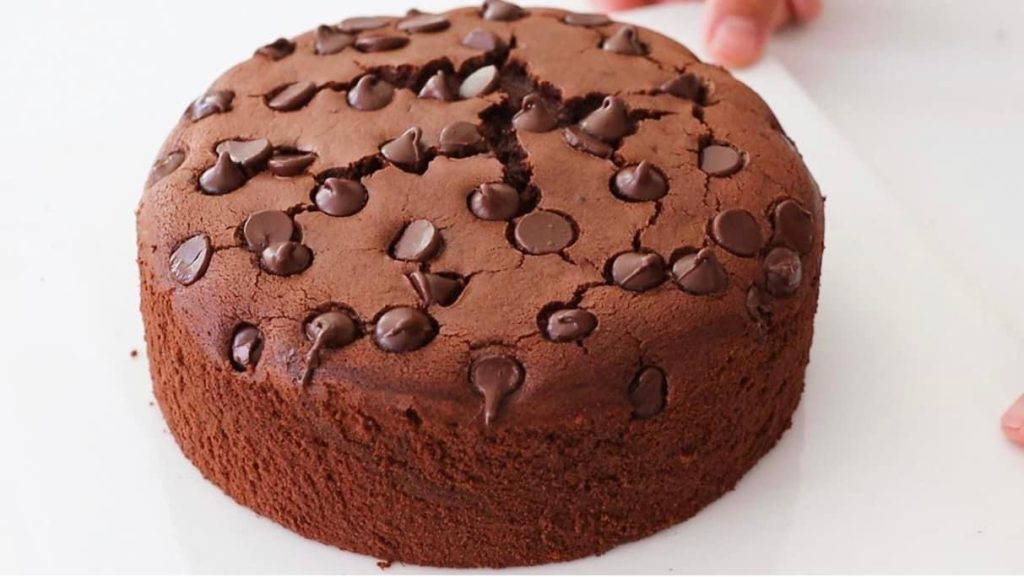
If you’re craving a brownie cake that’s made from scratch, this recipe will satisfy your sweet tooth. It’s a moist, tender cake with that familiar crackly, almost mound-like crust of a brownie, thanks to using real chocolate for that rich flavor. The batter is baked just right until it’s cracked, revealing a fudgy center. Each slice has a soft center that’s filled with chocolatey goodness, and you can even add crunchy walnuts and chocolate chips for an extra surprise. Whether it’s for dessert after dinner or to wow your guests, this cake is sure to impress. For an extra fudgy touch, keep it in the fridge and serve with a mound of homemade whipped cream to reach perfection.

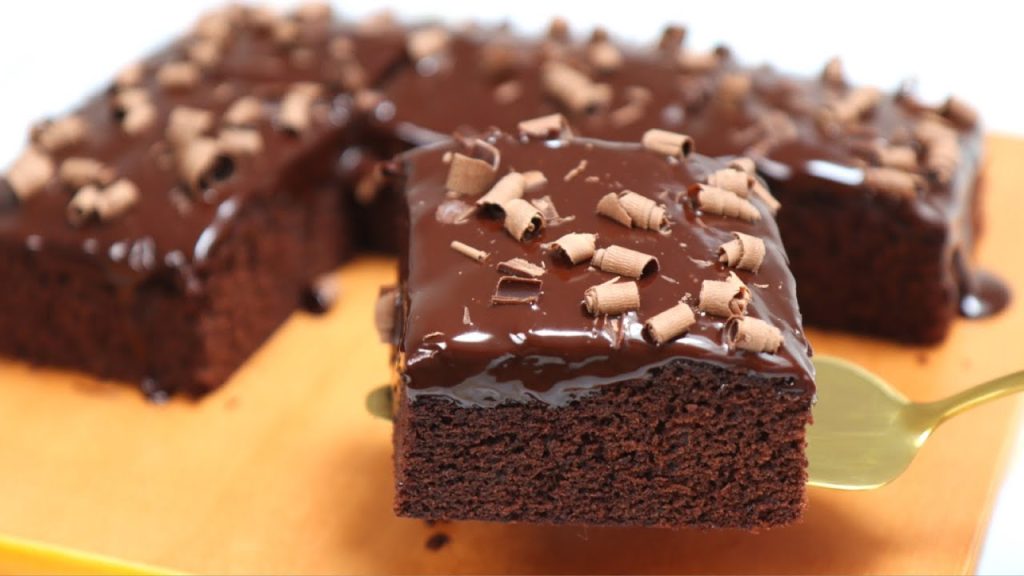
The secret to this ultimate cake recipe lies in its unique method. Whipped egg whites give it height, and the crispy shell forms a silky crust, transforming it from a regular brownie into an elevated dessert. The cake features layers stacked with creamy frosting, a pile of brownie bites, and a smooth ganache on top. It’s dense and rich like a brownie but has a subtly puffed, fluffy finish, making it truly one-of-a-kind. With this recipe ringing in my ears for weeks, I’m glad to share it with all chocolate lovers. No other chocolate cake compares—except maybe an apple banana cake recipe, which makes a great complementary treat in the kitchen.
How to make a Brownie Cake
Gather Your Ingredients
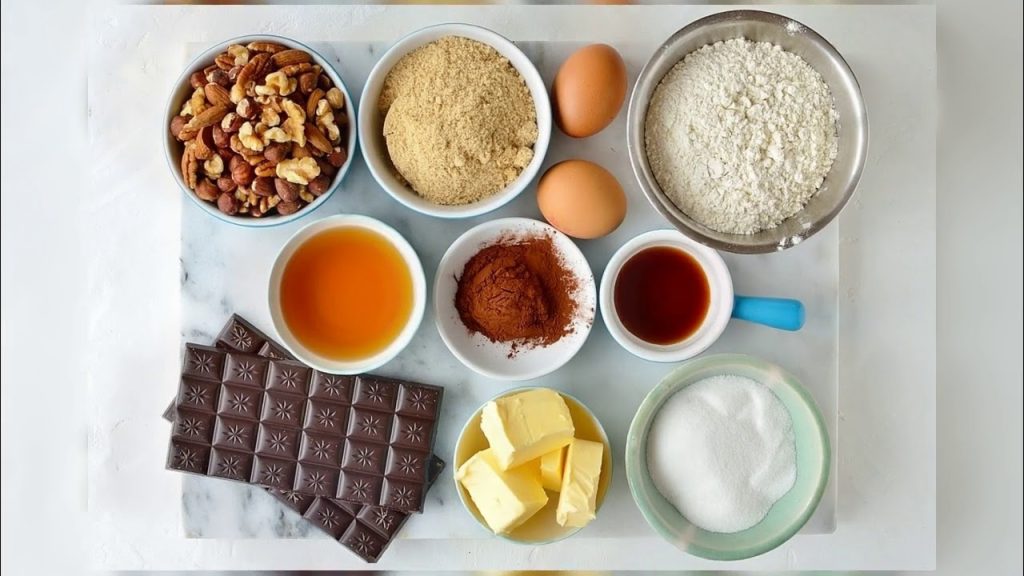
Start by collecting all the essentials for your delicious creation:
- Large eggs (7)
- Butter (unsalted, for that rich flavor)
- Dark chocolate (45-70% cocoa for the best taste)
- Cocoa powder (to enhance the chocolatey goodness)
- Flour (for structure)
- Salt (to balance the sweetness)
- Caster sugar or granulated sugar (for the perfect sweetness)
- Chocolate chips (optional, for extra indulgence)
- Walnuts (optional, for a delightful crunch)
Preheat the Oven Get your oven ready by preheating it to 350°F (175°C). This is crucial for baking perfection!
Prepare the Pan Grease a springform pan or line it with parchment paper. This will ensure easy removal of your cake once it’s done.
Melt Chocolate and Butter In a heatproof bowl, combine butter and dark chocolate. Melt them together over a double boiler or in the microwave until smooth and luscious. Let it cool slightly before using.
Separate the Eggs Separate the egg whites from the egg yolks into two different bowls. This step is key to achieving that fluffy texture!
Whip the Egg Whites Using an electric mixer, beat the egg whites on medium speed until they become thick and voluminous. You want them to hold stiff peaks and look frothy.
Combine Egg Yolks with Chocolate Add the egg yolks to the melted chocolate and butter mixture. Stir until fully combined and smooth.
Mix Dry Ingredients In another bowl, whisk together the flour, cocoa powder, and salt. If you’re using a food scale, weigh your dry ingredients for precision.
Combine Wet and Dry Ingredients Gently fold the dry ingredients into the chocolate mixture until just combined. Be careful not to overmix!
Fold in the Egg whites Now, it’s time for magic! Carefully fold the whipped egg whites into the batter. Use a spatula to incorporate them gently, keeping the air bubbles intact for that perfect rise.
Add Mix-ins (Optional) Feeling adventurous? Fold in chocolate chips and walnuts for an extra burst of flavor and delightful crunch!
Pour the Batter Pour the luscious batter into the prepared springform pan and spread it evenly. It’s about to get delicious!
Bake the Cake Place the pan in the preheated oven and bake for 40-50 minutes. Watch for the top to become cracked and ensure the center doesn’t wobble when gently shaken.
Cool the Cake Once baked, remove the cake from the oven and let it cool in the pan for about 15 minutes. After that, carefully remove it from the pan and allow it to cool completely on a wire rack.

Why you’ll love this brownie cake
You will love this brownie cake because it is truly unique. It features four layers of fudgy brownies, all made using just one bowl and one pan. This means less mess and easy cleanup!
- What makes it even better is the frosting. You won’t have to choose between chocolate and vanilla frosting; this recipe includes both! Both frostings are made from a single batch, making it simple to prepare. Plus, you’ll find brownie chunks nestled between the layers of frosting, adding a delightful treat in every bite.
- This cake recipe is forgiving, so it allows for many substitutions based on your dietary restrictions. If you’re looking for a simple and easy way to indulge, this cake is a perfect choice. Whether you are celebrating a special occasion or just treating yourself, this delicious, moist dessert is sure to impress.
- With its rich texture and the ability to cater to different tastes, it stands out as more than just a regular cake. You can enjoy the variation of flavors and indulge in something truly special that’s unlike any other dessert you’ve tried!
How to store Brownie Cake
To keep your brownie cake fresh and delicious, it’s essential to store it in an airtight container. This method helps maintain its fudgy texture while preventing it from drying out. If you’re not ready to serve the cake right away, you can keep it in the fridge, where it will last up to five days. Alternatively, you can store it at room temperature for up to two days. For longer storage, consider freezing your brownie cake, which can be frozen for up to a month. When you’re ready to enjoy it, let it thaw, and for an added special touch, dust the top with cocoa powder and add a big dollop of whipped cream. If your cake is topped with ganache, it can also be stored in different ways while still keeping its rich flavor of brownie cake in an airtight container in the fridge. It goes extra fudgy and keeps its texture well. When you’re ready to serve, dust the top with cocoa powder and add a big dollop of whipped cream. Cakes that are topped with ganache can be stored in a few different ways. It will last at room temperature for up to two days. Or, you can store it in the refrigerator for up to 5 days. And finally, if you want to save the cake for an extended time, it can be frozen for up to a month.
 Some Important Queries
What cake pan sizes work best for this recipe?
For the best results, I recommend using three 6-round cake pans. They create thick, dense layers that give the cake a rich, fudgy texture in the center. If you don’t have 6 pans, 8 cake pans will also work. However, you might notice a slightly domed top, which can be easily leveled off with a sharp knife once the cakes are completely chilled. Regardless of the pan size, be sure to fully coat each pan with nonstick spray and parchment paper to prevent sticking, as this batter is quite rich.
Can I use gluten-free flour for this cake?
Although I haven’t personally tested this recipe with gluten-free flour, a good one-for-one gluten-free baking flour should work as a substitute for the all-purpose flour. Remember, gluten-free flour is denser, so use a food scale to measure out 1 cup of flour for better accuracy. The cake may also need an extra 3-5 minutes in the oven to bake fully.
How can I prevent the cakes from sticking to the pans?
To ensure your cakes release easily from the pans, fully coat the inside of each pan with nonstick spray and line them with parchment paper. This step is essential due to the richness of the batter, which tends to stick to bare surfaces. Following these steps will help you get those perfect layers without any hassle.
How do I level the cakes if they have a domed center?
If your cakes come out with a slightly domed top, don’t worry—it’s easy to fix! Once the cakes are completely chilled, use a sharp serrated knife to carefully slice off the dome. This will create a flat, even surface, making it easier to stack and frost the layers. Remember to be gentle to avoid crumbling the cake.

