When it comes to baking, nothing brings a smile quite like the bright, tangy flavor of oranges. This orange cake recipe captures the sunny essence of citrus in every bite. With layers packed with fresh orange flavor, this super moist orange cake has a soft, tender crumb that melts in your mouth. Topped with a delicious cream cheese frosting, this cake is truly a family favorite that makes any occasion special. It’s easy to see why this cake is a go-to choice for gatherings and celebrations.
As a passionate baker, I can say this everyday recipe is not only simple but delivers amazing results every time. Growing up, my mom’s famous orange cake was a treat I looked forward to, often sneaking a slice before it cooled. Those nostalgic moments inspired me to share my own take on this citrusy cake, alongside delightful treats like orange cranberry muffins and chocolate orange marble cake on my blog. Whether enjoyed for breakfast, as a snack, or dessert, this cake is perfect for any occasion. Made without a mixer, it comes together quickly using just mixing bowls and a whisk. With fresh juice, orange zest, and a citrus punch, every bite is sure to brighten your day!
How to Make Orange Cake
Preheat the Oven: Begin by preheating your oven to 350°F (180°C). If you are using a fan or convection oven, reduce the temperature to 320°F (160°C).
Prepare the Pans: Grease and line two 8-inch round pans with parchment paper. This helps the cake layers release easily once baked.
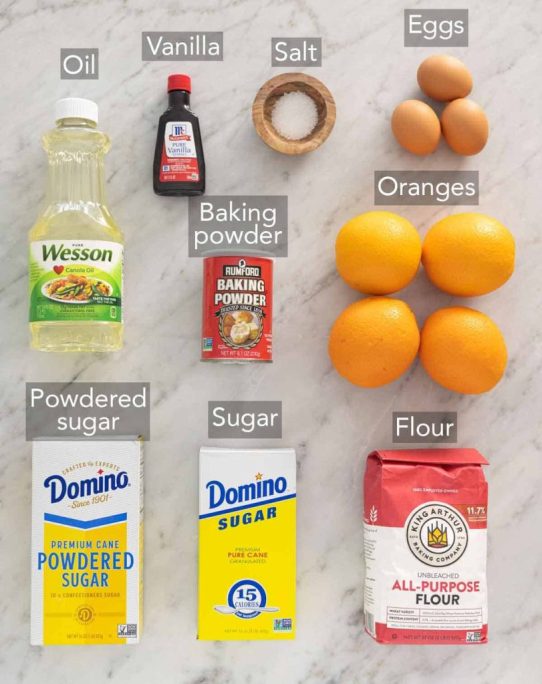
Sift Dry Ingredients: In a large bowl, sift together 2 cups of flour, 1 tablespoon of baking powder, and a pinch of salt. This ensures there are no lumps and helps the cake rise.
Cream Butter and Sugar: In another bowl, use an electric mixer to cream together ½ cup of butter and ½ cup of vegetable oil with 1 cup of sugar. Mix until the mixture is light and creamy.
Add Wet Ingredients: Beat in 3 large eggs, ½ cup of freshly squeezed orange juice, 1 teaspoon of vanilla extract, and the zest from 2 oranges. Mix well until everything is fully combined.
Combine Dry and Wet Mixtures: Gradually fold the dry ingredients into the wet mixture using a spatula. Be careful not to overmix, as this can make the cake dense.
Pour the Batter: Divide the batter evenly between the prepared pans. Level the tops and gently tap the pans on the counter to remove any air bubbles.
Bake: Place the pans in the preheated oven and bake for 30-35 minutes. To check if the cake is done, insert a toothpick into the center. It should come out clean or with a few moist crumbs.
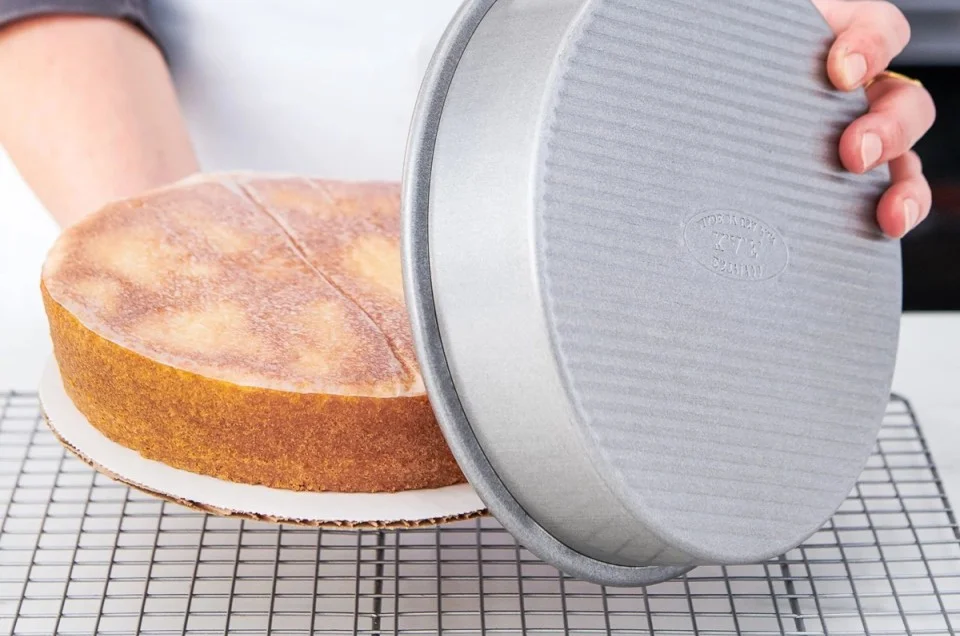
Cool the Layers: Once baked, allow the cake layers to cool in the pans for about 15-20 minutes. Then, carefully transfer them to a cooling rack to cool completely.
Make the Frosting: While the cake layers are cooling, prepare the frosting. Beat together 8 ounces of cream cheese with 2 cups of powdered sugar until smooth. You can add a bit more orange zest and juice to enhance the flavor if you like.
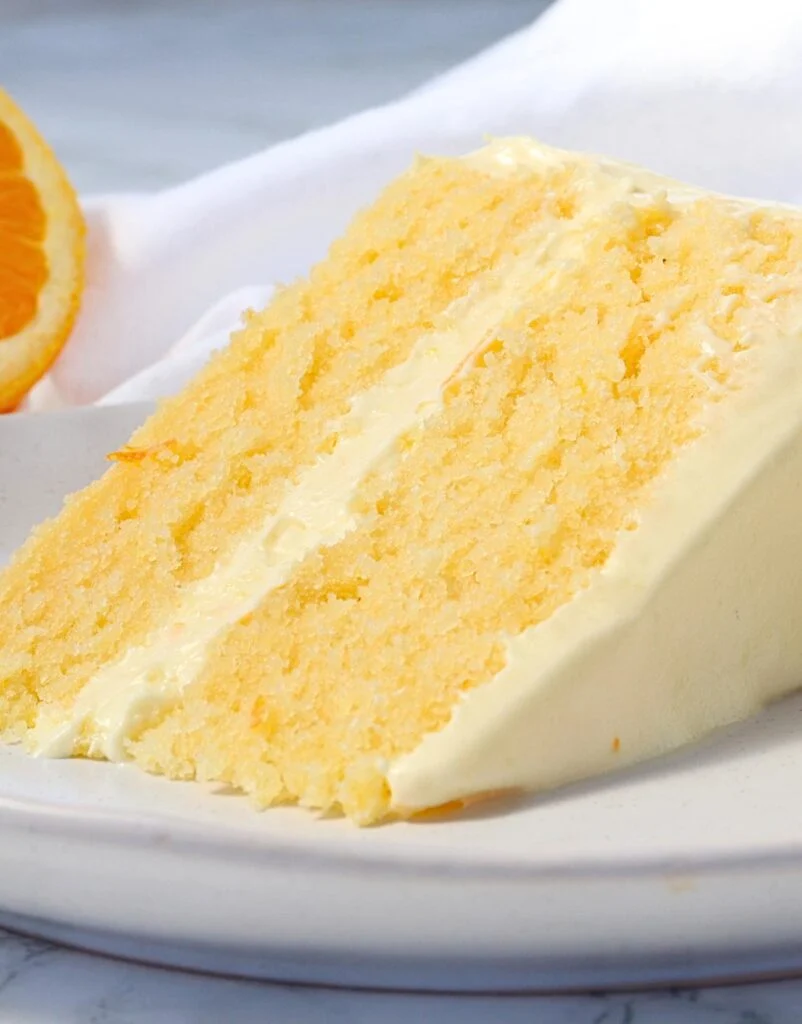
Assemble the Cake: Once the cake layers are cool, place one layer on a serving plate. Spread a layer of frosting on top, then place the second layer on top. Frost the top and sides of the cake with the remaining frosting.
Add a Glaze (Optional): For an extra touch, make a glaze by mixing powdered sugar with a little orange juice. Drizzle it over the frosted cake for a beautiful finish.
Let It Set: Allow the cake to set for about 30 minutes before slicing and serving. This helps the frosting to firm up a bit.
Enjoy your moist, tender orange cake, packed with fresh orange flavor that is sure to impress family and friends!
Tips for making this cake
Using Fresh Oranges and Lemons for a Flavor Burst: Fresh oranges and lemons make all the difference in bringing a citrus flavor burst to every bite. Start by gathering 3-4 oranges in total; you’ll need them for both juicing and zesting. Zesting releases fragrant oils that create a fresh aroma and add depth, while juicing the oranges makes the cake exceptionally moist. For an extra flavor punch, try rubbing the zest with sugar before adding it to the batter—this will help release the oils and make the flavor stronger.

Preparation for a Light, Fluffy Texture: It’s essential to fully beat the eggs with the sugar until they turn light and fluffy. This helps create a soft, airy texture, so be sure to continue beating until well combined. Add other ingredients slowly, making sure everything is well incorporated, but avoid over-mixing the batter—over-mixing can lead to a crumbly or tough cake. Set the eggs to room temperature before starting; placing them in a bowl of warm water for 5 minutes can make this easier.
Choosing the Right Pan and Lining for Easier Removal: I recommend baking this orange cake in a Bundt pan for a classic look or in loaf pans for easier serving. Mom always struggled with getting cakes out in one piece, but greasing and lining the Bundt pan with parchment paper can help prevent sticking. Using loaf pans is also a practical option if you want a more manageable slice for each bite. In either case, the orange juice keeps the cake moist and makes it less likely to stick

Measure Ingredients Carefully: To get the right texture, measure your flour carefully. Use a scale if possible, or the fluff, spoon, and level method with cups, which avoids overpacking. Lightly spoon flour into the measuring cup and level it off with a knife. Eggs should be at room temperature, as they’ll incorporate better into the batter this way, helping avoid lumps and over-mixing.

How to decorate orange cake
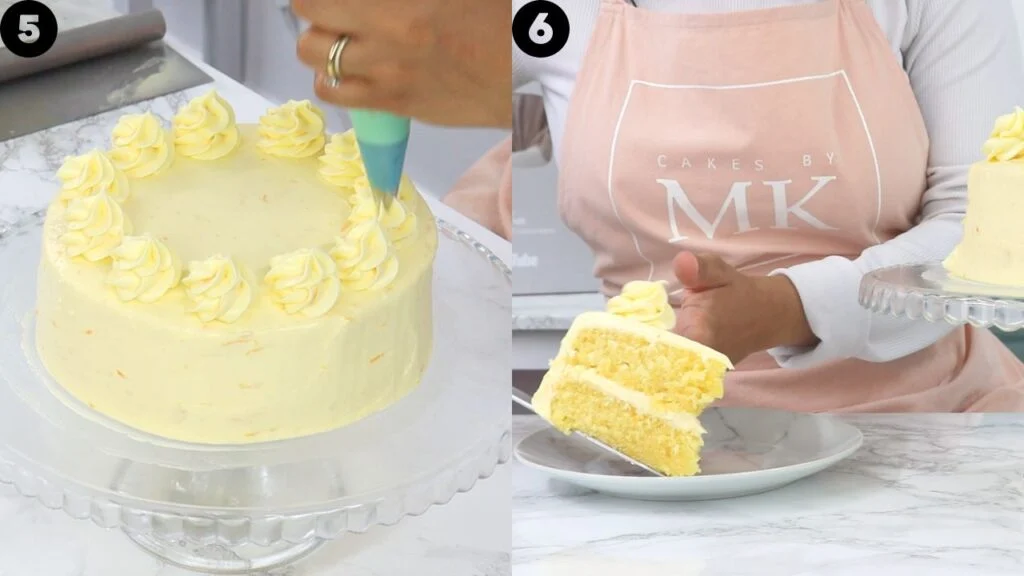
Decorating an orange cake beautifully starts with level cake layers to ensure a smooth finish. Begin by trimming the tops to get them nice and flat. This step is necessary for a perfect result, especially if you want your cake to be steady and visually appealing. You can add a small amount of flavor by letting a slightly caramelized color form on the top. With the layers trimmed and ready, place the first layer on a cake stand for easy rotation. Apply a thin layer of frosting with an offset spatula, focusing on smoothing out the middle. This initial layer is known as the crumb coat and prevents crumbs from showing through the final frosting. Some bakers prefer using a cake scraper for an even finish on the sides. Once the crumb coat is set, apply a thicker layer of frosting to cover the cake completely. Smooth the sides and top with the cake scraper, ensuring any lip at the top edges is neatly handled with an offset spatula. For a clean look, keep the scraper steady as you move it around to get a sharp edge on the top. Now comes the finishing touch: use a 1M piping tip to add decorative details around the edges or along the top to create a unique design that is perfect for a stunning presentation. You may consider checking a video if you need additional info on getting the frosting smoothed out or want to learn different ways to achieve an attractive thumbnail look. Finally, each step should lead to a wonderful result that will delight anyone who sees and tastes your cake!

Storing and Serving
To store your orange cake and keep its moist texture, place it in an airtight container and keep it in the refrigerator for up to 5 days. This method will help preserve the freshness and ensure it’s served with its best flavor. If you prefer your cake at room temperature, allow it to sit out for a bit before serving. For longer storage, this cake freezes well; you can bake two loaves and cover each tightly to freeze. When storing in the freezer, your cake will last up to 2 months. To enjoy later, simply thaw it overnight in the fridge, bringing it back to its delightful freshly baked state.

Frequently Asked Questions.
How should I store my orange cake for the best results?
We recommend storing your orange cake in an airtight container. For freshness, place it in the fridge after day 3 if you’re keeping it for up to 5 days. If your container is too large, you can wrap the cake in plastic wrap and use toothpicks to prop the wrap-up, protecting the icing from smudging.
Can I freeze my orange cake, and if so, how?
Yes, you can freeze your orange cake! If you plan to freeze the whole cake, it’s best to avoid glazing first, as the glaze’s texture might change when it thaws. Wrap the cake in plastic wrap and tin foil to lock in its orange flavor. The cake can be frozen for up to 3 months. For convenience, you can also freeze individual slices so you can pull a slice whenever you crave it!
Why is orange zest important in an orange cake?
Orange zest is the secret to a truly delicious and orange-flavored cake. Adding zest brings out a richer orange flavor than just using orange juice alone, so don’t skip it—it really makes the cake extra special.
related recipes

